Friday, July 20, 2012

Here is my finished piece. Saved out of photoshop. Allot of emotion and dedication went into finishing this piece. It was easily the longest and most tedious personal project i've ever done. Im happy to see it finally finished. :)
Here is a breakdown of my most recent digital portrait painting.

Tuesday, December 27, 2011

New Matte Painting!!!


Heres a new personal matte painting project i just finished. I plan on possibly turning it into a 3D projection setup if I ever get some more free time lol. I realize that I havn't posted in a while but i hope to make a habit of putting out new work regularly from here on out. For those of you that didn't know i have an Online Portfolio set up. Feel free to go and check out my demo reel, as well as some other work ive done. the url is (www.digicompz.com).

Friday, May 7, 2010

Final Renders


Back (body wireframe on shaded)


UV Map ^^^^^^^

Front (body with wireframe on shaded)

Ear

Head and Torso


Hand

Foot

Blockout Roundout

Critiques (Sometimes harsh, but always helps)


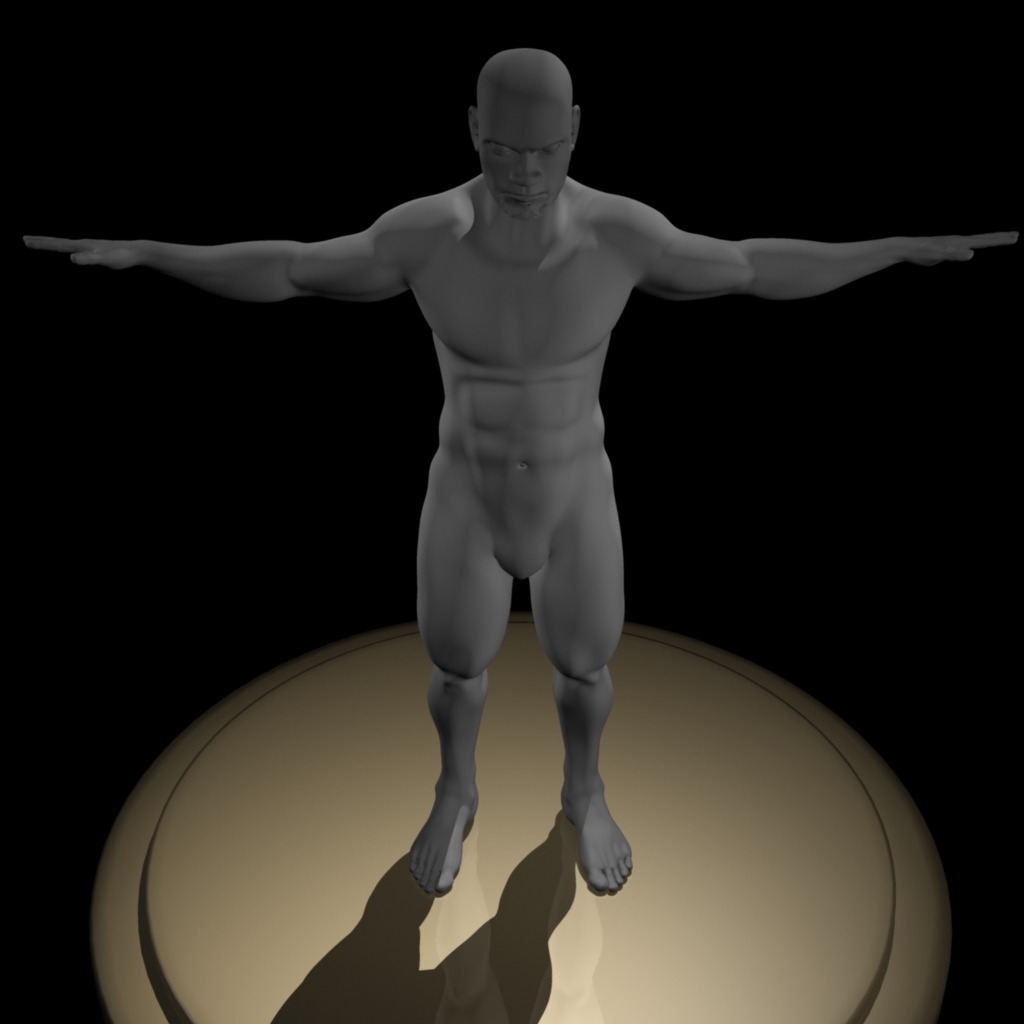
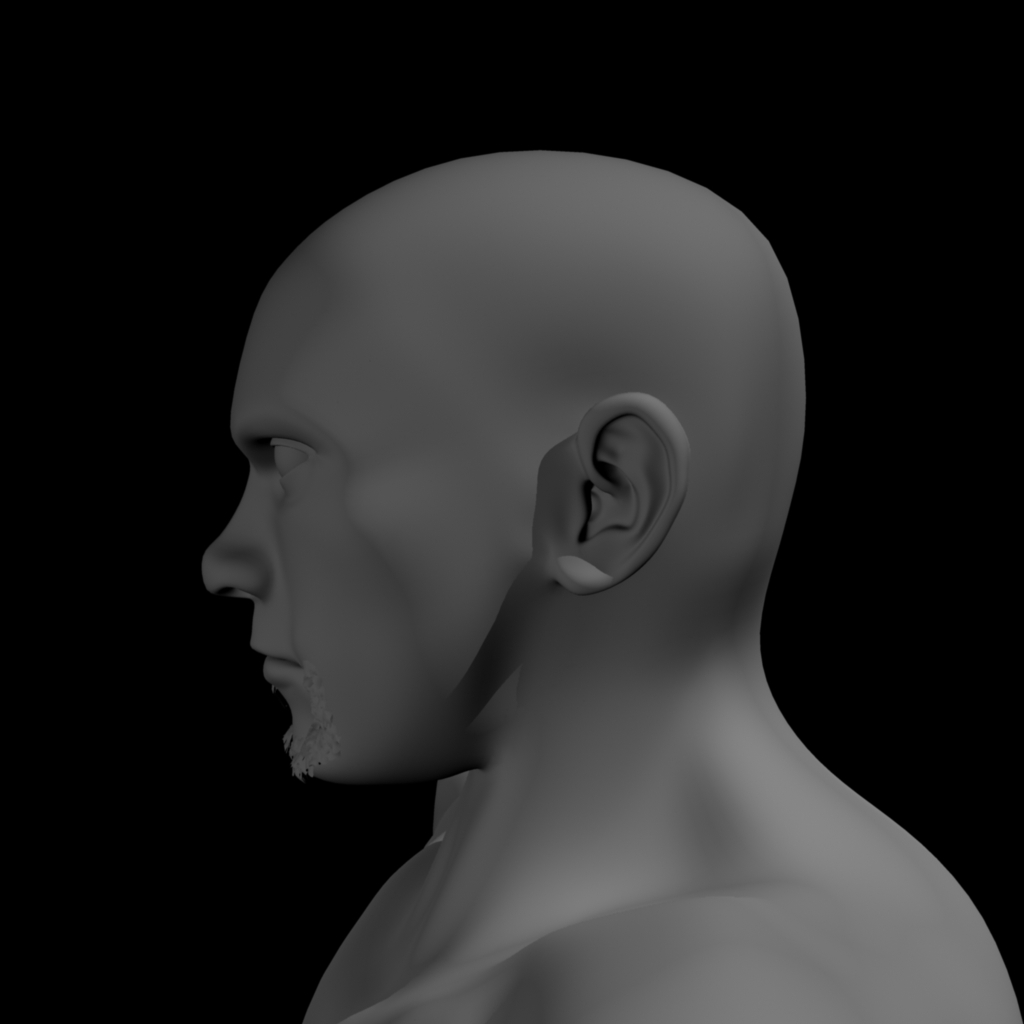
Guess What time it is! Yup you guessed right, time for another post. Today im going to be showing off one of my favorite models that ive done thus far. It is my very first high resolution character model. I made this during my character design and creation class. I will be posting a ton of photos. A few photos are of the critiques i received from teachers as i was creating the model. Proof that no one knows everything and that there is always room for improvements. The rest are snapshots of each piece of my model in normal and smoothed mode as i was creating them during the project, and finally some renders of my finished character from different views.

Thursday, May 6, 2010

Sci Fi Scene (SAL Final Project)


This is the final render of my Shading and lighting final project. The scene had to be lit, the camera had to be positioned, and all surfaces had to be textured.

Production Lighting (raytraced glass)


Wasn't sure which i liked better so I've posted both.

Outdoor Lighting, with sub surface scattering on composited character

70mm Lens (Still Life Lighting, with textures and displacement map)

70mm Lens (Outdoor Environment, with textures)

75mm Lens (Soft Lighting)

45mm Lens (Film Noir)

70mm Lens

50mm Lens

20mm Lens

5mm Lens

Shading and Lighting ^^^^^

WARNING! There is a new blog post approaching! This next few posts will be a series of renders i did during my Shading and lighting class. For the first few labs we were given a pre-built model of a house. We were then told to add lights to the scene based off of certain criteria, or theme they gave us during that particular lab. We also had to set up our camera into the scene and adjust the focal length to get the best effect.

Kitchen Scene (Final Project)


Bowling Alley


Restaurant Scene

Beach Scene

MCR Class Projects ^^^^^^^

Hey everyone! Ive decided that the next set of class projects I'm going to show off, is the scenes i made during my model creation class. The snapshots I'm going to show are of a couple simple environments we had to make. we were told to model all the props in each scene as well. By the way these next few scenes are pretty much the first models i have ever really done. On another note however i feel that i gained a better understanding of how maya works as i went through these projects, and feel that by comparing my final project for this class to the original lab assignments i completed earlier on the difference in quality is obvious. Which definitely helps justify the statement "practice makes perfect".

Wednesday, May 5, 2010

FOA Animation


So i lied. I posted 13 clips. I also lied about being able to loop my videos.... yeah found that out after uploading for an hour haha. The next video I'm posting is a 3D animation. It was a good follow up because it still utilises all the principles of animation. Only in this case its a bit longer and a little bit more interesting.

Anticipation 2

Anticipation

Walk with Overlap

Walk

Jump

Run

Overlap

Whip

Descending Ball

Head Turn

Pendulum

Ball Physics

Ball Bounce

Hey, people of the web!  I wanted to post this message to let you know whats about to come above. Shortly i will be posting a series of 12 quick, but fun little 2D hand drawn animations i did. The clips are very short because the point of these exercises were to utilise the 12 principles of animation as simply and efficiently as possible. I recommend hitting (command + L key, for the MAC and i believe ALT +L key on the PC ) before you watch the videos to put them on a temporary loop before viewing them. The loop allows you to better understand and interpret the animations, because they are only a few seconds long. Enjoy! By the way feel free to comment on any of my past, present, or future posts I love getting feedback on my work. After all being critiqued is what makes us artists better at what we do.
Here is one last shot of the 4 view render of the controller after i was done with the modeling process. I Hope you all enjoyed the past few posts. Not to get you even more excited lol, but i plan on posting in the near future pretty much all the work I've done since i started classes.  I plan on breaking it up by class, as to not make the thread too confusing.
Step 6: This was pretty much the final step other than the final render, and putting all the pieces together. This step was simply an extension of step 5, during which i added the finishing touches by sculpting out the shapes for the handles. This step took a decent amount of time as well, because the geometry had to be hand smoothed and manipulated until it got the correct volumes, and shape. I finished off the model by adding a slight seem along the controllers shells to give it that realistic look. i simply extruded in and up the outer most edges of the two shells to get the effect. Although you cant see from the photo, I also modeled the top shoulder, and trigger buttons of the controller as well during this step.  
Step 5: As you can see for the 5th step i began creating the bottom shell. Now unlike the top shell that had two different sides because of the different button layout, the bottom shell is a mirror image of itself on either side. This was good because it meant i only had to model half of the shell. I finished off the bottom shell by creating a special duplicate object, and mirrored the geometry over to the other side. followed by a simple vertex merge down the middle edge to sew the two halves together.
Step 4: After finally finishing the whole button pad dilemma it was time to start busting out the upper shell of the controller, and get the edges to flow properly across the model. This part wasn't to hard because i spent allot of time adjusting the button pad before hand. The CV curve outlines from the first step helped out allot as well.
Step 3: The next step involved creating the round button pad that the buttons themselves sit on. This was honestly the hardest part of this model in my opinion. Since I'm picky and insisted that i have individual holes punched into the shell to give the buttons something to sit in, instead of being on the surface, the model suddenly called for a ton more geometry than i was expecting. I had the hardest time figuring out a way to get the edge flow correct. but after several attempts i think i found one that worked. 
Step 2: The next step i took was to model the smaller separate pieces of the controller. i.e. the buttons, and joysticks. For the buttons, and joysticks I utilised the revolve tool, after creating the CV curve button profiles. This allowed me to get very smooth, and accurate edges to the individual buttons.
Step 1: The first thing i always try to do before i start a new project is map how I'm going to lay the model out. So the first step i took was to find a bunch of reference photos of an actual PS3 controller. I then imported them into the scene and traced the photos with CV curves to map the controller out and make sure all my proportions were correct from all views.
Hey everyone! Just as i promised i have all the snapshots as well as descriptions for my step by step work flow process ready to be posted. the photo above is a 4 view snapshot of the final wire frame of my controller.

Wednesday, April 28, 2010


Hey Everyone! I just wanted to finally post a quick final render of the PS3 Dualshock controller that i modeled this month. I plan to post a step by step walk through of my work-flow during this project in the near future, so keep an eye out for further updates to the blog. There should be screen shots to go along with the work-flow descriptions, as well as some good wire-frame on shaded renders as well.